In this example we will see how to create Invoice example with php and tcpdf so please follow this steps.
- Go to git hub link
To download Git installer, visit Git's official site and go to download page. The link for the download page is https://git-scm.com/downloads. The page looks like as
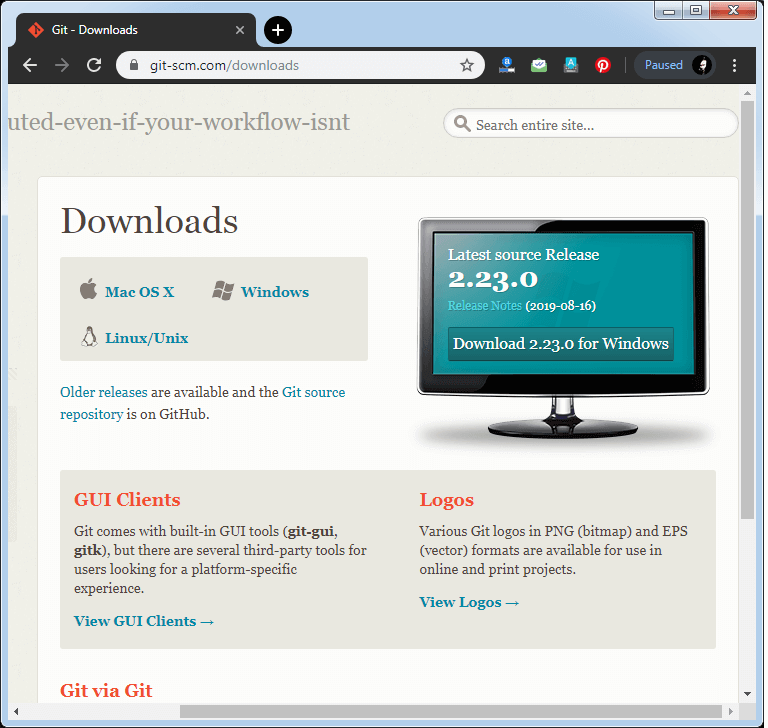
Click on the package given on the page as download 2.23.0 for windows. The download process will start after selecting the package.
Now Git installer package has been downloaded.
Install Git
Step2
Click on the downloaded installer file and select yes to continue. After the selecting yes the installation begins, and the screen will look like as
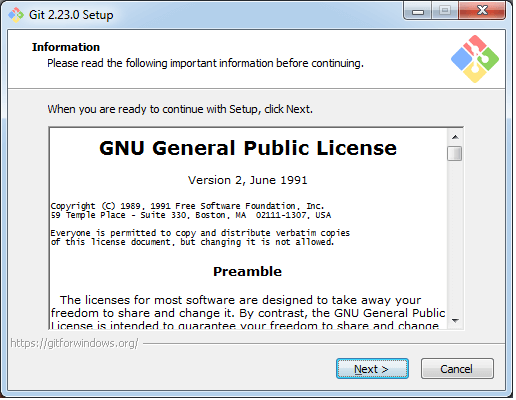
Click on next to continue.
Step3
Default components are automatically selected in this step. You can also choose what ever your required part.

Click next to continue.
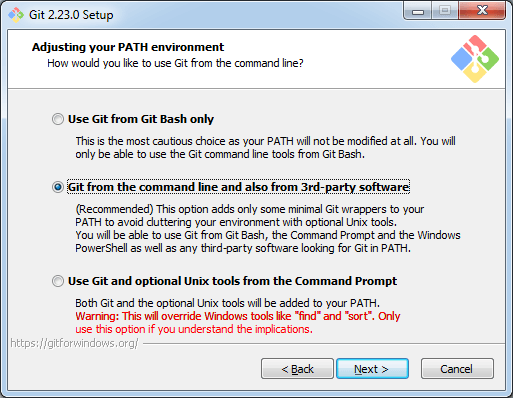
Step4
The default Git command line are selected automatically. You can choose what ever your preferred choice. Click next to continue.
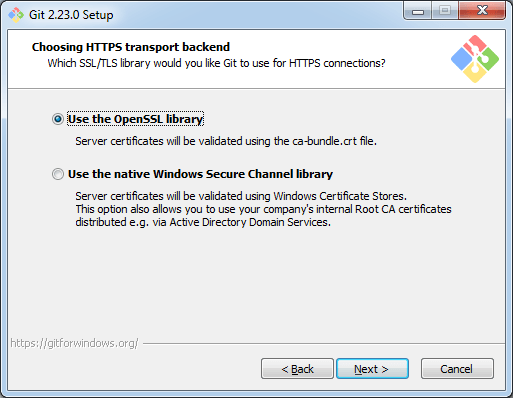
Step5
The default transport backend options are selected in this step. Click next to continue.
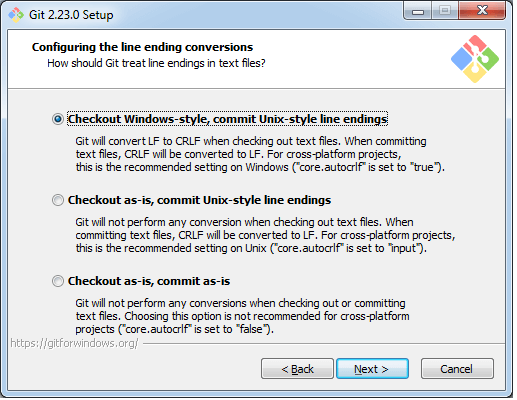
Step6
Select your required line ending option and click next to continue.
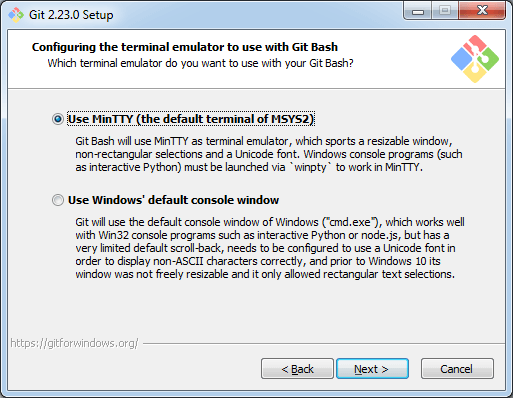
Step7
Select preferred terminal emulator clicks on the next to continue.
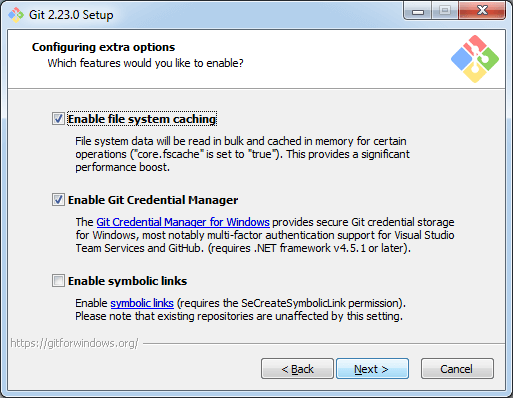
Step8
This is the last step that provides some extra features like system caching, credential management and symbolic link. Select the required features and click on the next option.
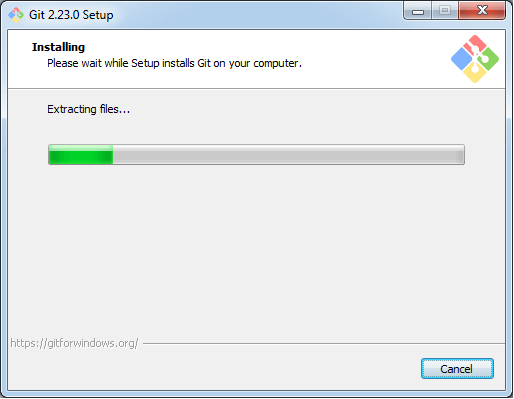
Step9
The files are being extracted in this step.
Therefore, The Git installation is completed. Now you can access the Git Gui and Git Bash.
The Git Gui looks like as
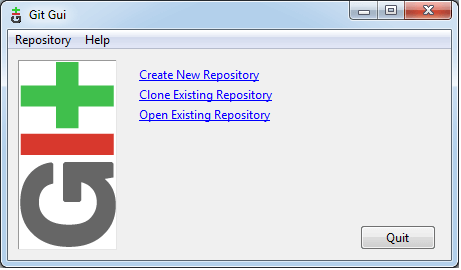
It facilitates with three features.
- Create New Repository
- Clone Existing Repository
- Open Existing Repository
- Clone the code from repositories to local server
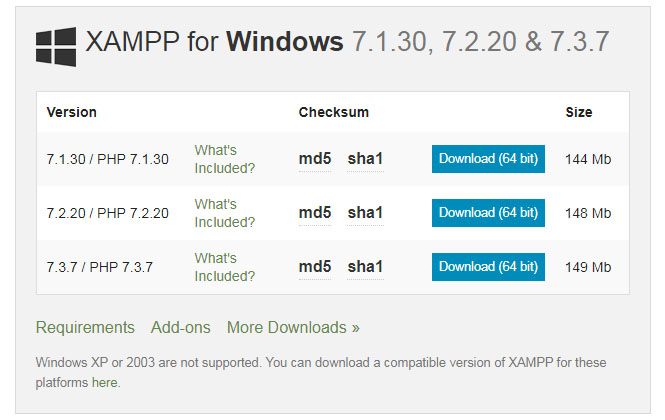
- In the web browser, visit Apache Friends and download XAMPP installer.
- During the installation process, select the required components like MySQL, FileZilla ftp server, PHP, phpMyAdmin or leave the default options and click the Next button.
- Uncheck the Learn more about bitnami option and click Next button.
- Choose the root directory path to set up the htdocs folder for our applications. For example ‘C:\xampp’.
- Click the Allow access button to allow the XAMPP modules from the Windows firewall.
- After the installation process, click the Finish button of the XAMPP Setup wizard.
- Now the XAMPP icon is clearly visible on the right side of start menu. Show or Hide can be set by using the control panel by clicking on the icon.
- To start Apache and MySql, just click on the Start button on the control panel.

Note: Suppose Apache is not starting, it means some other service is running at port 80. In this case, stop the other service temporarily and restart it.
Making server request: Open your web browser and check whether the XAMPP service has properly installed or not. Type in the URL: http://localhost. If you are able to see the default page for XAMPP, you have successfully installed your XAMPP Server.
To Check if PHP is Working: All the website realted files are organized in a folder called htdocs and then run index.php file by using http://localhost/index.php or http://localhost.
http://localhost/[YOUR_FOLDER_NAME]/invoice-example-with-php-and-tcpdf/